Keeping Your DJI Drone Battery Healthy and Safe
Best practices for care and maintenance so you can get the most from your DJI drone battery
Whether you are charging, discharging, transporting, or storing a DJI lithium-ion battery it is important to adhere to best practices and manufacturer guidelines so you can get the most out of your batteries.
Before moving forward it’s important to understand the basics of how a lithium-ion battery works. For simplicity, think of the inside of your battery cell as being divided into two sides, anode and cathode. During discharge lithium ions will travel from the anode to the cathode inside the battery while electrons must take a different route outside of the battery as electrical current. When the battery is being charged the opposite occurs and lithium ions will travel back to the anode. This constant flow back and forth among other factors does eventually bring an end to the lithium-ion batteries’ useful life.
Here are some pro tips from the DJI Enterprise Battery Maintenance Guide on proper maintenance, charging, storage, and use of your drone batteries.
1. Read and follow the guidelines in your user manual
We trust that the first thing you did when you got your new enterprise drone is read the official documentation provided. But in case you need a refresher, we’ve provided links below to the DJI drone battery safety guides for each of our enterprise platforms for your quick convenience. These documents are packed with important information on battery use, charging, maintenance, storage, and disposal, and we cannot overemphasize how important it is for pilots and operators to internalize this information.
Official Documentation for DJI Enterprise Battery
The following documentation is also available on the related products’ downloads page.
- TB60 Batteries (Matrice 300 RTK)
- TB55 Batteries (M200 Series V2 & M200 Series V1)
- TB50 Batteries (M200 Series V1)
- Phantom 4 Batteries (Phantom 4 RTK, Phantom 4 Pro, P4 Multispectral)
-
Mavic 2 Batteries (Mavic 2 Enterprise)
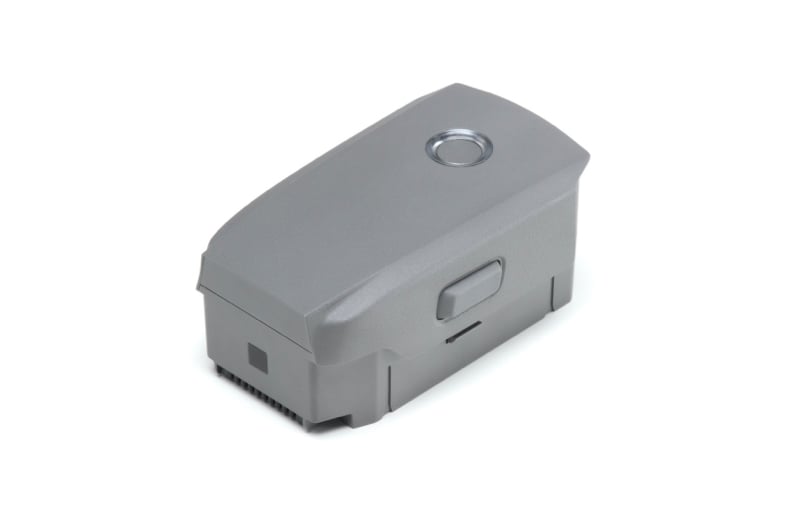
Mavic 2 Enterprise Intelligent Flight Battery
2. Update your Firmware
You can find the latest official firmware by navigating to the product page on the DJI website, going to the Downloads section, and viewing the Release Notes. Within Release Notes, you can see the latest firmware versions.
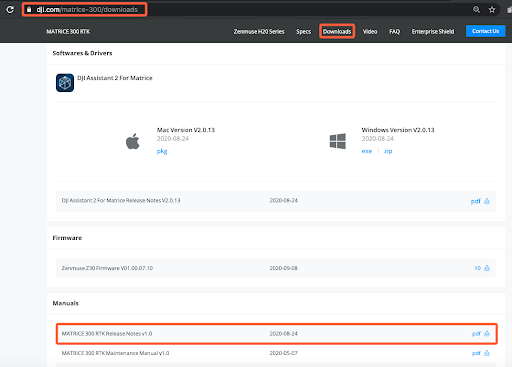
You should always have your batteries on the same firmware version as your drone, ideally with both on the latest official firmware. For drones with dual-battery design, both batteries must be on the same firmware version, otherwise you cannot take off.
How to check your batteries’ firmware version?
To confirm your aircraft and battery are on the latest firmware you can open the DJI Pilot app, go into your manual flight camera view, click on the three dots in the top right, then the three dots in the side menu, scroll down to the “About” option, and click to view current firmware versions. You can also connect your mobile device (Smart Controller, Crystal Sky, etc…) to the internet and when you turn on the aircraft and open the Pilot app you will be notified of any necessary updates.
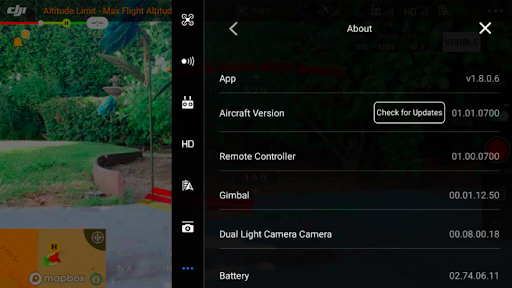
How to update your batteries’ firmware version?
If you are updating your aircraft, the battery that is powering the aircraft will automatically be updated if the firmware update includes a battery update or if the battery firmware is not on the latest version.
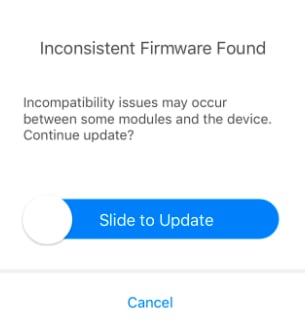
If there was a battery update as part of the firmware update, when you place a non-updated battery into the drone you will get a notification stating inconsistent firmware. You can update that battery based on the aircraft’s current firmware with the slider. In this case, no additional connections to the internet or DJI Assistant 2 are required for this battery update with an already updated aircraft.
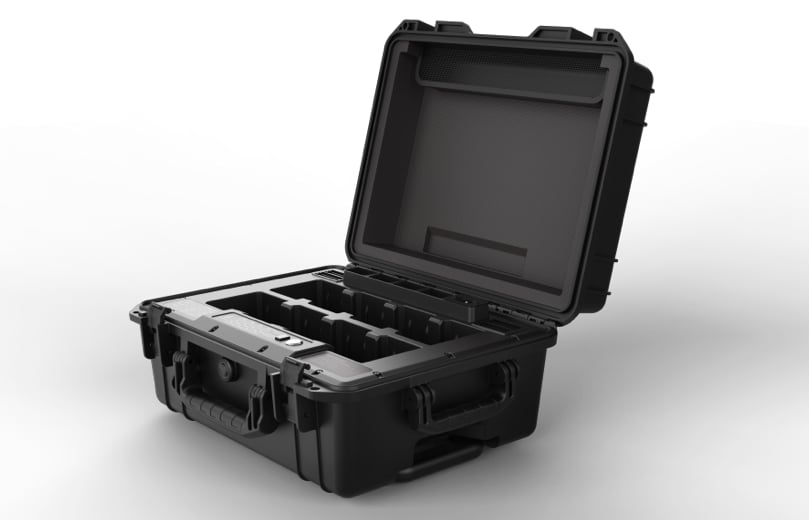
You can also update the firmware of your TB60 batteries (used with the M300 RTK), by placing them in the BS60 Battery Station and connecting the Smart Controller Enterprise to the battery station. Up to 8 batteries can be updated at once in the health management system of the Pilot App.
3. Beware of extreme temperatures
Extreme temperatures are a battery’s worst enemy. DJI drone battery should not be used, charged, or stored in temperatures beyond the recommended ranges in the table below.
| DJI Drone Battery Type | Drone | Capacity/Energy | Operating Temperature for Drone | Charging Temperature | Charging Time from 0% to 100% | Self Heating |
| TB60 | M300RTK | 5935mAh, 274.2Wh | -4 to 122°F-20 to 50°C | 41° to 104°F5 to 40°C | 220V 60 min110V 70 min | Yes |
| TB55 | M200 Series V2 & V1 | 7660mAh,174.6Wh | -4° to 122°F-20 to 50°C | 41° to 104°F5 to 40°C | 144 min | Yes |
| TB50 | M200 Series V1 | 4280 mAh, 97.58Wh | -4° to 113°F-20 to 45°C | 41° to 104°F5 to 40°C | 90 min | Yes |
| M2 Ent. | Mavic 2 Enterprise | 3850mAh, 59.29Wh | 14° to 104°F-10 to 40°C | 41° to 104°F5 to 40°C | 90 min | Yes |
| P4 | Phantom 4 RTK Multispectral, Pro V2 | 5870mAh, 89.2Wh | 32° to 104°F0 to 40°C | 41° to 104°F5 to 40°C | 70 min | No |
Operators should be conscious of where batteries are left and stored because exposure to and use in extreme temperatures can cause permanent decreases in battery capacity, lifetime, and stability. For example, avoid leaving batteries in locations that can experience extreme temperatures, such as in a vehicle during winter or summer.
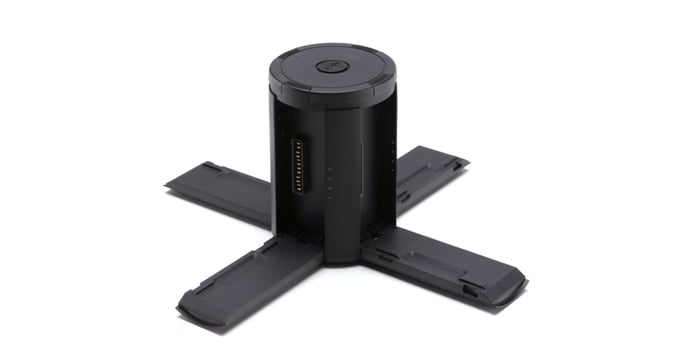
Matrice 200 V2 Charging Hub
4. Charge Responsibly
DJI drone battery packs are built to communicate with DJI chargers. For this reason, always use an official DJI charger. DJI takes no responsibility for your battery if it is charged using a non-DJI charger.
What is wrong with third-party chargers?
Third-party drone chargers may have a charge rate greater than 1C. Although this rate can charge a battery faster, it will reduce the service life of the battery and cause damage to the cells due to excessive internal temperatures and/or lithium-plating.
Third-party chargers might also damage the terminals of your batteries due to improper alignment, safeguards, and guides.
Why only use DJI approved chargers?
There is protection built into DJI chargers and batteries in regards to making sure batteries are not charged at incorrect temperatures. We cannot cannot guarantee this feature will work with third-party chargers.
Best practices for charging
To best care for your batteries, we recommend allowing your batteries to return to an acceptable internal temperature before charging.
However, in some situations it may be critical to get your batteries charged as soon as possible post-flight, even if they are hot off the drone. With a DJI charger it is safe to place a battery on the charger even when it is still hot as long as the charger and battery are placed in a well-ventilated area (i.e. not covered or heated). If the charging need is not immediate, it is best practice to allow the battery to cool down before placing it on the charger.
Intelligent flight batteries are designed to stop charging when full. However, we recommend you monitor the charging progress and disconnect the batteries when fully charged.
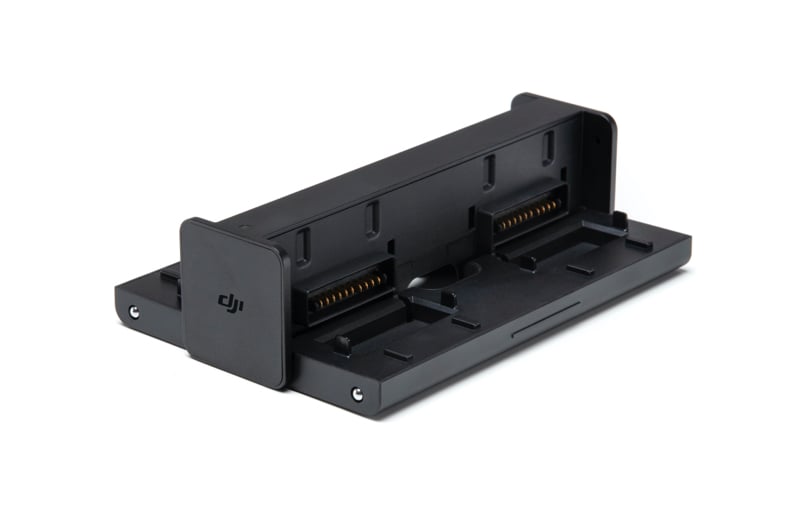
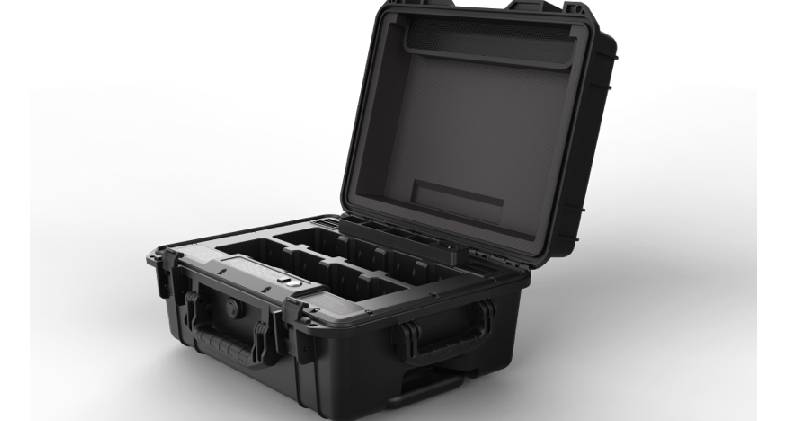
Mavic 2 Enterprise Battery Charging Hub
4. Battery Storage Best Practices
Storage Environment
The ideal storage temperature for DJI batteries is between 71.6°F and 86°F (22°C to 30°C), and storage in this range can help minimize non-recoverable capacity loss. Though it might not always be possible to store your batteries at this temperature, it is important to avoid habits such as storing batteries in vehicles that will routinely get very hot or very cold and are outside the recommended storage temperature.
Always store batteries in a well-ventilated place away from direct sunlight and heat sources. Remove batteries from drones when storing. Do not allow batteries to get wet.
Do not store at 100%
It is not recommended to charge your batteries to 100% before storage. DJI Intelligent Batteries automatically discharge to protect the integrity of the battery cells. In most cases, you can set a time from 1 to 10 days in the app for the batteries to start self-discharging themselves down to 60%. If there is no option present in the app the battery will default to 10 days. If a battery is below 40-60% it should be charged until it reaches this range for storage.
For emergency responders and other users who require batteries to always be at 100%, it must be understood that this will negatively affect the life and performance of lithium-ion batteries. When a battery is at 100% it places stress onto the cells, and this continual stress on the cells will accelerate the decrease in the batteries’ capacity and operational life cycle.
We understand some operators such as public safety agencies are required to maintain their drones and batteries in ‘ready to fly’ condition at all times but do encourage teams to explore options for charging in the field to potentially allow the storage of some batteries at 60% instead of 100%. If the decision is made to keep a battery at 100%, it can be stopped from discharging by pressing the power button on the battery. This causes the battery to exit the idle state and resets the time to battery self-discharge to the previously defined time period i.e. 10 days.
5. Avoid 0%
Over-discharge can seriously damage your batteries. It is recommended to land your drone when the battery level is ~15% or greater to maximize its service life. If your battery levels are depleted past ~15%, please recharge as soon as possible.
6. Keep pairs together
For aircraft with a dual-battery design such as the M300 RTK and M200 Series, mark two batteries as a pair and continue using them as a pair (charge and discharge them together) to maximize the service life and ensure flight performance. By using this method, pairs of batteries will maintain very similar internal resistance.
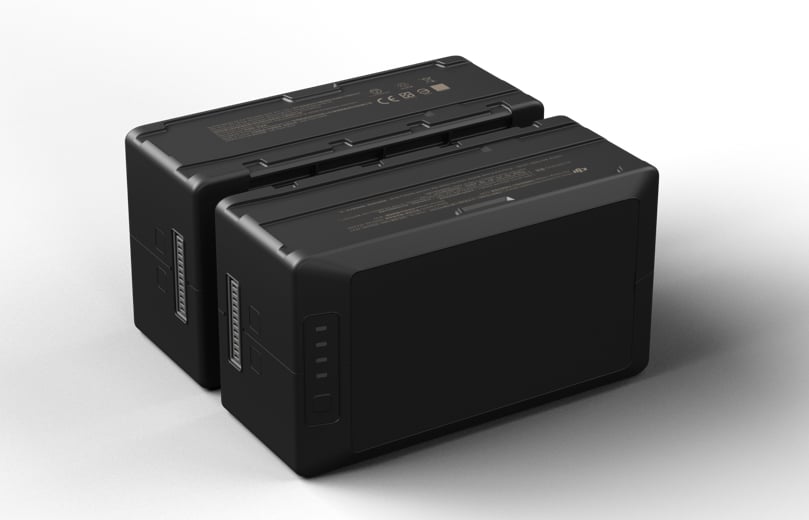
Matrice 300 TB60 Batteries
7. Don’t Forget Maintenance
The steps below are critical to making sure your batteries are ready to go and are properly calibrated. Specifically, charging and discharging the battery ensures an accurate digital readout of battery percentage which is a vital metric when operating your drone. If this process is ignored the battery percentage margin of error will be amplified by continued operations.
Complete the following every 3 months or 50 cycles (whichever comes first)
- Charge and discharge batteries per instructions below.
- Make sure the cell voltage difference is less than 0.1V after the battery is fully charged and left stationary for 6 hours.
- Make sure the battery is not swollen, leaky, or damaged. See more “Common issues to watch out for” below.
- Clean battery terminals with a clean dry cloth and make sure they are clean.
- Make sure battery firmware is updated to the latest version.
Charge and Discharge Instructions:
- Charge the battery to 100% and leave the battery stationary for more than 24 hours.
- Install the battery into the aircraft. Fly the aircraft and when the remaining power level is less than 20%, land the aircraft and remove the battery.
- Leave the battery stationary for more than six hours.
- Check cell voltage.
- Charge the battery to 100% power level.
- Repeat the above steps 1-4.
8. Battery Retirement and Safe Disposal
Retirement Criteria
Proper use, charging, maintenance, and storage will ideally allow for 200 charging cycles before a battery should be taken out of service. Retirement of batteries based on a cycle count is a difficult gauge to go by as there is no standard as to what defines a cycle. For a DJI drone battery, it is any time the battery is charged. It is also important to look for any other issues that may be present (which we detail in the next section) when making a battery retirement decision.
9. Common issues to watch out for
Batteries should be taken out of service and replaced if any of the following occurs:
- Visual swelling, leaking, or damage (cracks, dents, etc…).
- Bent terminals (can cause a short circuit)
- An in-app notification or prompt regarding battery cell damage or over-discharge
- A battery has reached 200 charging cycles
- A battery error still exists after performing the standard charge and discharge operations twice consecutively
- Crash or hard impact
